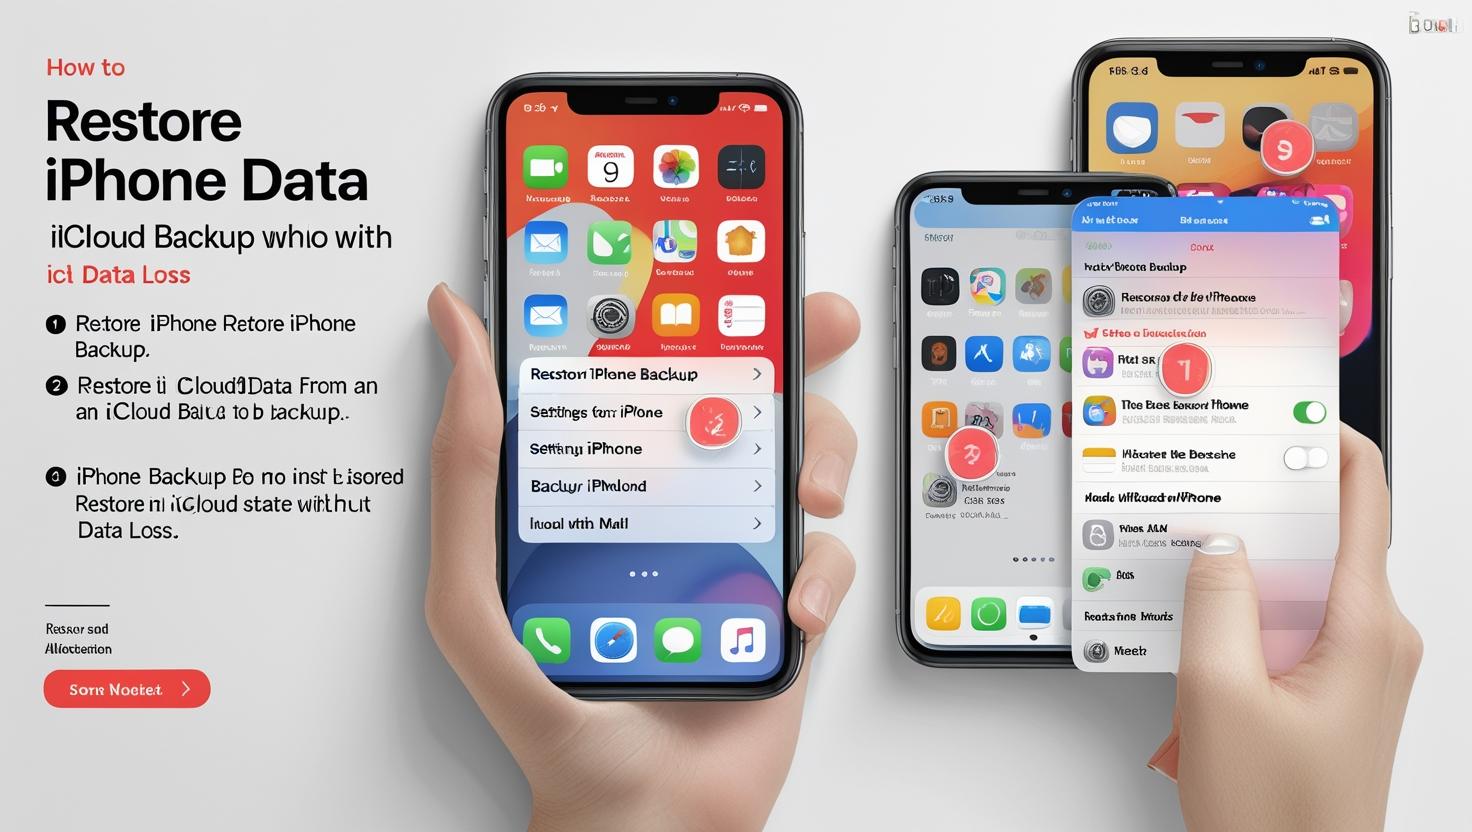
Lost important data on your iPhone is like losing part of your online presence, your photos, contacts, messages, and even app preferences. Thankfully, if you have backed up your iPhone using iCloud, you can restore all your data in a few clicks.
In this tutorial, we’ll demonstrate how to safely restore iPhone data from an iCloud backup without losing anything, whether you’re upgrading phones or recovering from a reset. We’ll also deal with the essential things you need to do before you restore, as a little prep is worth it.
Why iCloud Backup Matters
Apple’s iCloud backs up automatically a copy of your iPhone’s most important stuff, including messages, app data, settings, and photos, so that you can recover it if your phone is lost, damaged, or upgraded.
With the right configuration, iCloud backup is your safety net, protecting your digital world without needing to connect to a computer.
Step 1: Confirm You Have a Recent Backup
Before you restore anything, make sure your phone has a recent iCloud backup:
- Open the Settings app on your phone
- Tap at the top of the screen where your Apple ID name is located
- Go to iCloud > iCloud Backup
- Check the Last successful backup date and time
If you haven’t backed up recently, connect your phone to Wi-Fi, leave it connected to power, and tap Back Up Now.
Step 2: Understand What iCloud Restores (and What It Doesn’t)
iCloud Backup Includes:
- Photos and videos (if iCloud Photos is disabled)
- Messages and iMessages
- Contacts, Calendars, Notes (if they are synced using iCloud)
- App data
- Device settings
- Home screen layout
- Health data
Does not include:
- Apps themselves (they’ll be redownloaded from the App Store)
- Music or media not purchased from iTunes
- Data from apps that don’t have an iCloud account (like some third-party apps)
Knowing this prevents surprises later on.
Step 3: Prepare Your iPhone for Restore
To restore from an iCloud backup, your device must get past the initial setup screen, so you’ll have to restore your iPhone first if it is already activated.
How to do it:
- Go to Settings > General > Transfer or Reset iPhone
- Tap Erase All Content and Settings
- Confirm and enter passcode
- Wait for your iPhone to restart and return to the setup screen
Step 4: Restore from iCloud During Setup
Once your iPhone is ready:
- Turn on your device and finish the setup process
- Tap Restore from iCloud Backup on the Apps & Data screen
- Sign in to your Apple ID
- Select the one you want to restore from (remember to verify the date so that it is the most recent)
- Keep it connected to Wi-Fi and power as the process completes
Depending on the size of your backup and the speed of your internet connection, this may take a bit of time. Don’t worry, your data is coming back.
Step 5: Wait for Full Restoration to Finish
After setup is complete, your iPhone will continue downloading data in the background, such as:
- Apps
- Photos (if not using iCloud Photos)
- Messages and media files
- Settings and preferences
You can start using your phone while this happens, but for best results, leave it plugged in and connected to Wi-Fi until everything is fully restored.
Tips to Avoid Losing Data
- Enable iCloud Photos to automatically back up and sync photos across all devices
- Manually back up prior to making significant changes like updating iOS or changing phones
- Keep enough iCloud storage space (5GB is free, but most people need to upgrade to 50GB or more)
- Use the same Apple ID; backups are your own personal account
Frequently Asked Questions
1. Will I lose my photos if I restore from iCloud?
Not if they were backed up with iCloud Photos or included in your latest iCloud backup.
2. Can I restore a backup from a different iPhone?
Yes, as long as the backup was made with your Apple ID. It will restore your apps, messages, and data to your current iPhone.
3. Can I choose what to restore?
No, iCloud restores the entire backup. But once restored, you can delete what you don’t need.
Final Thoughts
Restoring your iPhone from an iCloud backup doesn’t have to be stressful, in fact, it’s designed to be simple and seamless. With a little planning and the right steps, you can get your phone back to how it was without losing a thing.
At DeviceTransfer.com, we believe every user should feel confident managing their own tech. If this guide helped you, explore our other how-to articles and device tutorials, all created to help you take control of your digital world.
